
Flutter push notifications run on Firebase Cloud Messaging (FCM) for both Android and iOS. The Dart side is short; most of the work is native setup — and on iOS, one step that many guides skip decides whether you can tell if a notification was ever delivered.
How push notifications work in Flutter
Your app gets a device token from FCM and sends it to your push server along with the user it belongs to. When you send a campaign, the server asks FCM to deliver it. FCM reaches Android devices directly and iPhones through Apple Push Notification service (APNs), using the APNs key you upload to Firebase.
This guide uses flutter_notify_sphere, the notifySphere Flutter SDK, which handles registration and reports when each notification is delivered and tapped.
Prerequisites
- Dart 3.9 or newer.
- A Firebase project with Cloud Messaging enabled, and your APNs .p8 key uploaded in its Cloud Messaging settings.
- A notifySphere app with an App ID and API token, with your Firebase service account uploaded (see push setup).
- A physical iPhone — push doesn't work on the iOS Simulator.
1. Add the packages
dependencies:
  flutter:
    sdk: flutter
  flutter_notify_sphere: ^1.0.0
  firebase_core: ^4.3.0
  firebase_messaging: ^16.1.0
Use these Firebase versions or newer within the same major version. Older firebase_core and firebase_messaging releases won't resolve alongside the SDK.
2. Configure Android
- Put
google-services.jsoninandroid/app/and apply the Google Services Gradle plugin. - Add the
INTERNET,POST_NOTIFICATIONS, andVIBRATEpermissions. Android 13 and later needPOST_NOTIFICATIONSto show anything. - Set a default notification icon and the default channel ID in the manifest.
3. Configure iOS
- Add
GoogleService-Info.plistto theRunnertarget in Xcode. - Enable Push Notifications, Background Modes → Remote notifications, and an App Group named
group.<your.bundle.id>.
4. Add a Notification Service Extension on iOS
This is the step most Flutter push tutorials leave out. When a notification arrives while your app is in the background or closed, iOS doesn't run any Dart code. Without native code, you can't confirm delivery or attach images in those states — which is most of the time.
A Notification Service Extension is a small native target that iOS runs for every incoming notification. Add one in Xcode (File → New → Target → Notification Service Extension), give it the same App Group as your app, and add the delivery-confirmation code from the Flutter SDK docs. The extension reads the credentials the SDK saved in the shared App Group, confirms delivery, and downloads any image attachment.
5. Initialize the SDK
Initialize Firebase, then the SDK, before runApp. The background handler must be a top-level function marked with @pragma('vm:entry-point') so it survives tree shaking and can run in a background isolate.
import 'package:firebase_core/firebase_core.dart';
import 'package:firebase_messaging/firebase_messaging.dart';
import 'package:flutter/material.dart';
import 'package:flutter_notify_sphere/flutter_notify_sphere.dart';

@pragma('vm:entry-point')
Future<void> backgroundMessageHandler(RemoteMessage message) async {
  // Runs in a background isolate — keep it short
}

void main() async {
  WidgetsFlutterBinding.ensureInitialized();
  await Firebase.initializeApp();

  await FlutterNotifySphere().initialize(
    showForegroundNotification: true,
    onNotificationClick: (RemoteMessage? message) {
      // Navigate to the screen this notification is about
    },
    backgroundMessageHandler: backgroundMessageHandler,
  );

  runApp(const MyApp());
}
6. Register the user
Register once you know who the user is. Taps and deliveries that happen before registration — such as a tap that cold-starts the app — are queued and sent once registration completes, so you don't lose them.
// After login, or on your home screen
await FlutterNotifySphere().registerUser(
  appId: 'YOUR_APP_ID',
  apiKey: 'YOUR_API_TOKEN',
  userData: {
    'applicationUserId': 12345,
    'name': 'Jane Doe',
  },
  onFcmToken: (token) => debugPrint('FCM token: $token'),
  onRegistrationComplete: (id) => debugPrint('Subscription: $id'),
  onError: (error) => debugPrint('Registration failed: $error'),
);
7. Test all three app states
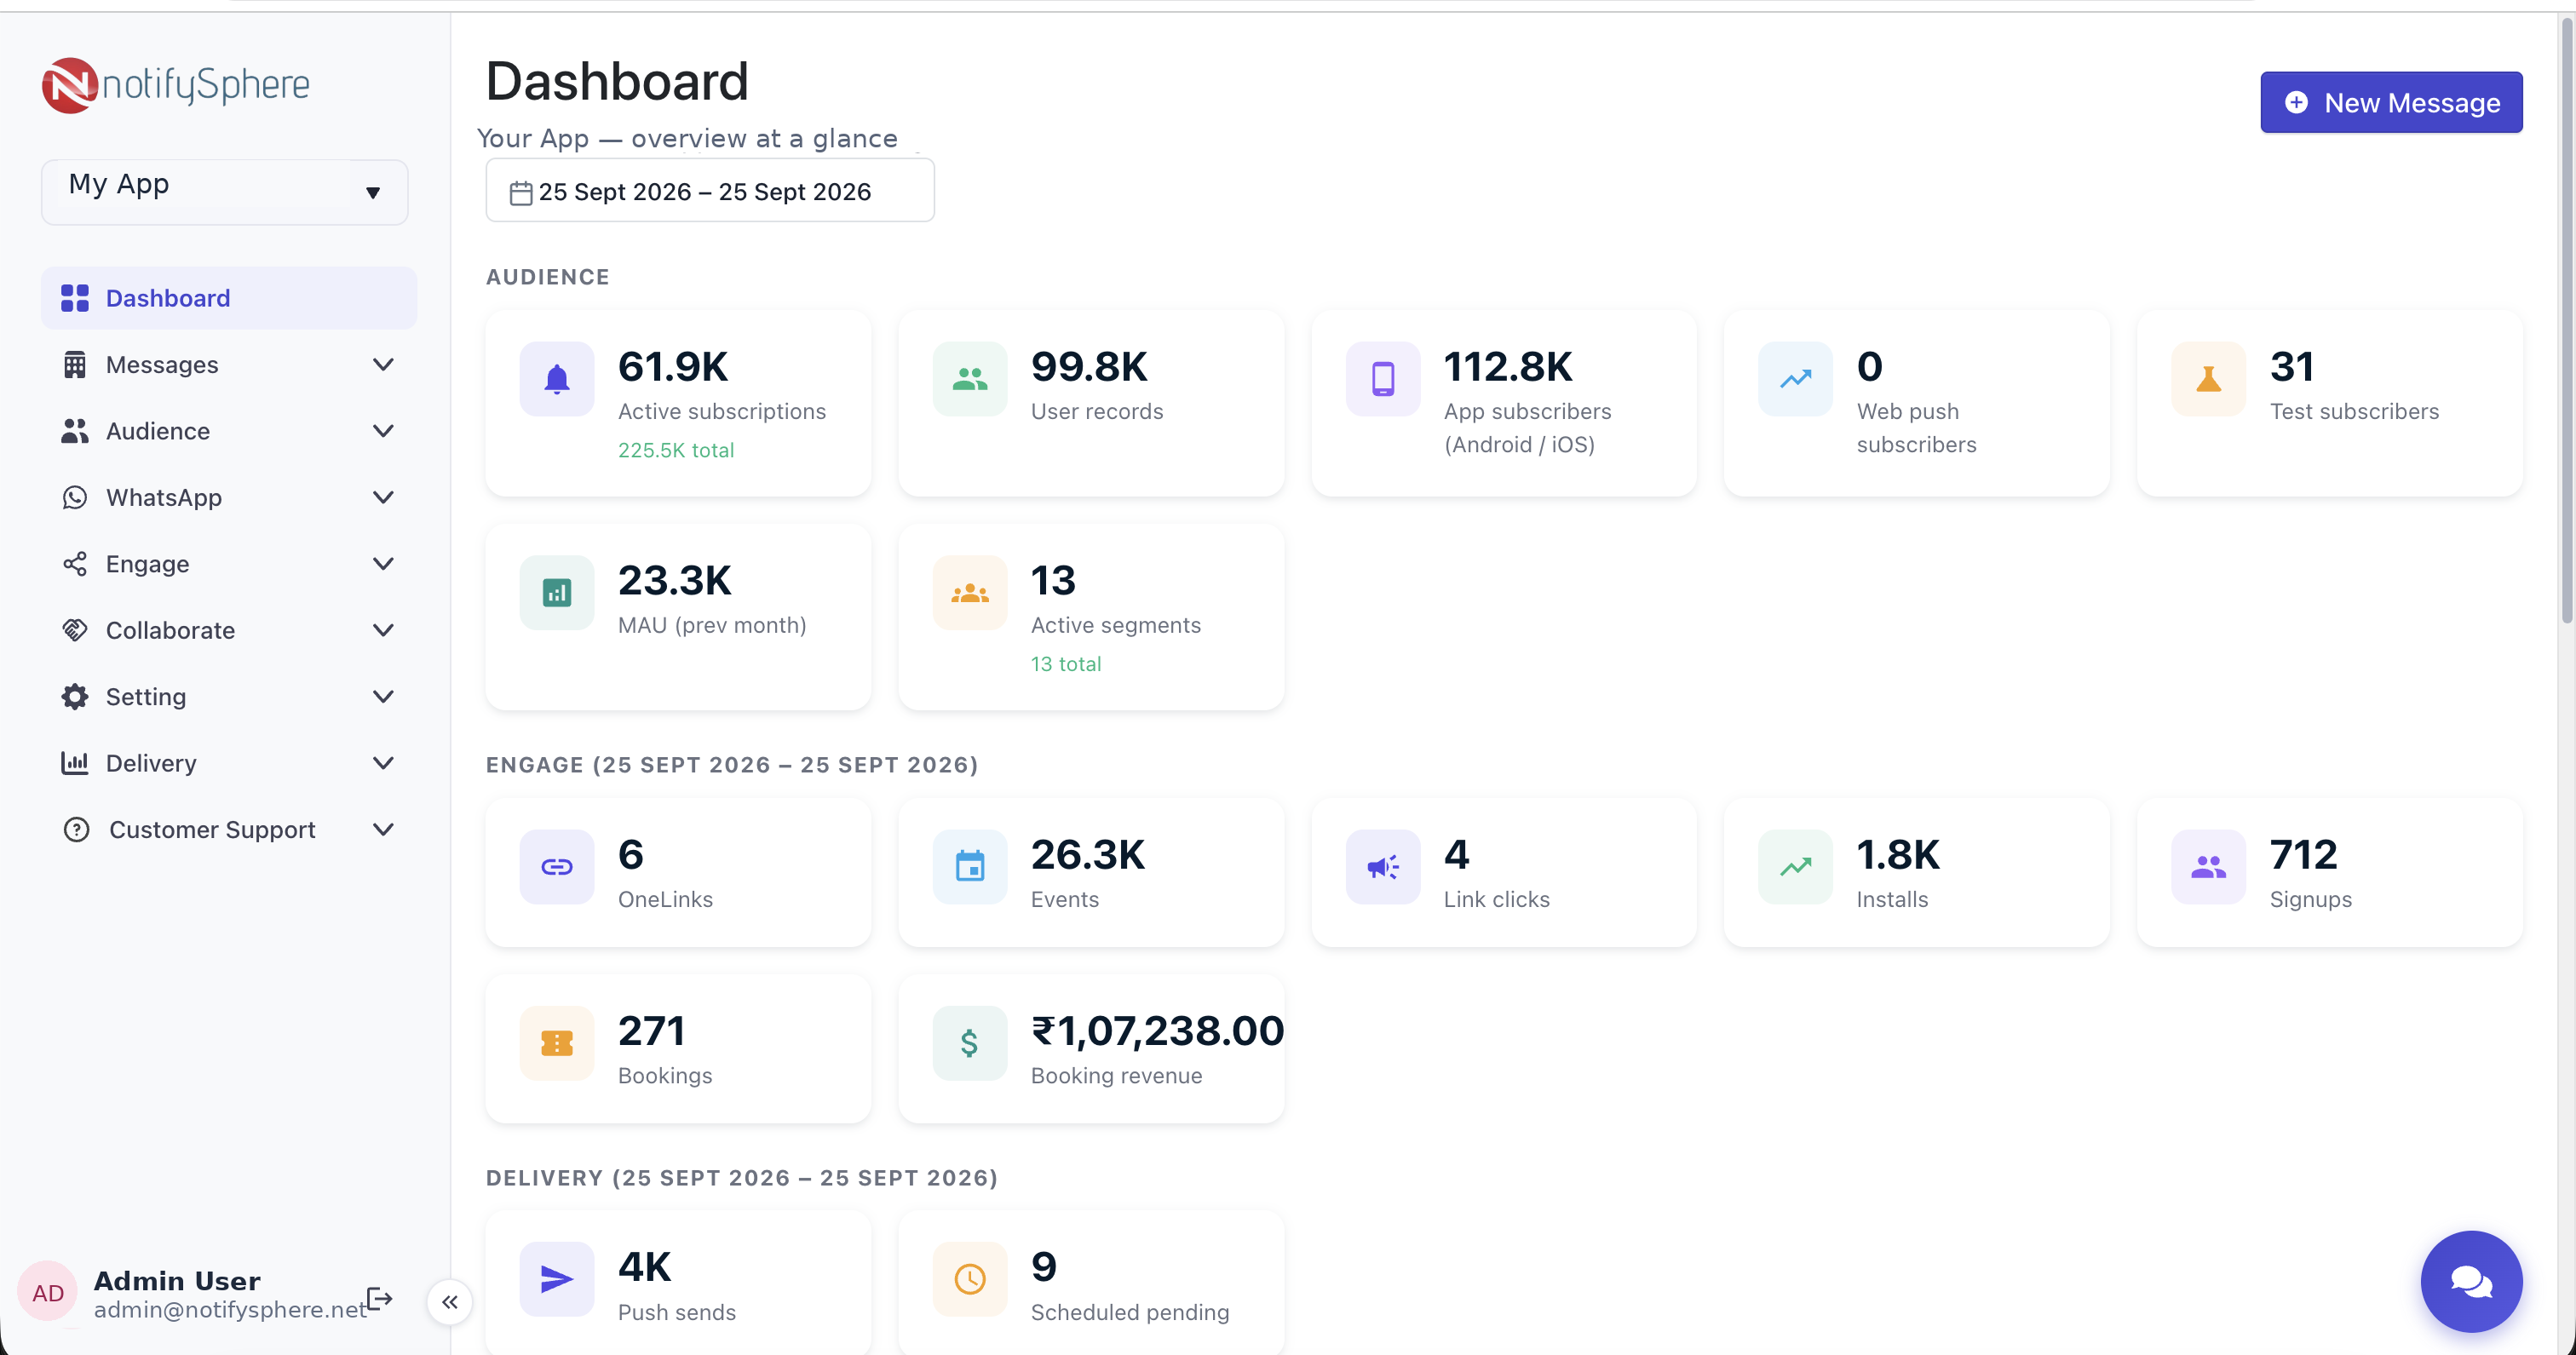
Send a test from the dashboard to a real device, and check each state separately:
- Foreground: a heads-up notification appears and
onForegroundMessagefires. - Background: the notification shows in the tray; tapping it fires
onNotificationClick. - Closed: the notification still shows, and on iOS the Delivered count rises — proof the service extension works.
Common problems
- Version solving failed: your Firebase packages are older than the SDK requires.
- iOS delivered count stays at zero when the app is closed: the service extension is missing, or it isn't in the same App Group as the app.
- Nothing on Android 13+: the notification permission wasn't granted.
- Background handler never runs: it isn't a top-level function, or the
vm:entry-pointannotation is missing.
The Flutter SDK reference lists every option. Using React Native instead? See the React Native push notifications guide.