
Push notifications in React Native come down to three pieces: Firebase Cloud Messaging (FCM) to deliver messages, native setup on Android and iOS, and JavaScript that registers the device and reacts to notifications. This guide walks through all three with the notifySphere React Native SDK.
How React Native push notifications work
Each device gets a push token from FCM. Your app sends that token to a server — here, notifySphere — along with the user it belongs to. When you send a campaign, the server asks FCM to deliver it, and FCM reaches Android directly and iOS through Apple Push Notification service (APNs). One Firebase project covers both platforms.
Prerequisites
- React Native 0.70 or newer.
- A Firebase project with Cloud Messaging enabled.
- A notifySphere app with an App ID and API token, and your Firebase service account uploaded under Settings → Messaging (see Firebase credentials).
- A physical iPhone for iOS testing — push doesn't work on the iOS Simulator.
1. Install the SDK and its dependencies
npm install react-native-notify-sphere
npm install @react-native-firebase/app @react-native-firebase/messaging
npm install @notifee/react-native
npm install @react-native-async-storage/async-storage@^1.23.1
npm install react-native-device-info react-native-install-referrer
cd ios && pod install && cd ..
Pin AsyncStorage to v1 as shown. Version 2 needs a custom Maven repository that most React Native projects don't have configured.
2. Configure Android
- Download
google-services.jsonfrom the Firebase console intoandroid/app/. - Apply the Google Services Gradle plugin.
- Add the
POST_NOTIFICATIONSpermission — Android 13 and later require it to show notifications. - Add a small notification icon. Android silently drops notifications that don't have one.
3. Configure iOS
- Add
GoogleService-Info.plistto your Xcode project. - Under Signing & Capabilities, enable Push Notifications and Background Modes → Remote notifications.
- Configure Firebase and the notification center delegate in your AppDelegate.
4. Register the background handler
Notifications that arrive while the app is in the background or closed are handled before your React tree mounts. Register the handler synchronously in index.js, before registerComponent() — if it's wrapped in a promise or timeout, those notifications are dropped.
// index.js
import { AppRegistry } from "react-native";
import App from "./src/App";
import { name as appName } from "./app.json";
import NotifySphere from "react-native-notify-sphere";
import { APP_ID, API_TOKEN } from "./src/App";

// Must run synchronously, before registerComponent()
NotifySphere.setBackgroundHandler({ appId: APP_ID, apiKey: API_TOKEN });

AppRegistry.registerComponent(appName, () => App);
5. Register the device and handle notifications
Call initialize() when the app mounts. It's safe to call on every launch — it only re-registers when the FCM token or user details change.
// src/App.tsx
import { useEffect } from "react";
import { Platform } from "react-native";
import NotifySphere from "react-native-notify-sphere";

export const APP_ID = "your-notifysphere-app-id";
export const API_TOKEN = "your-api-token";
const PUSH_TYPE = Platform.OS === "android" ? "AndroidPush" : "IOSPush";

export default function App() {
  useEffect(() => {
    NotifySphere.initialize({
      applicationUserId: 123, // your user's ID
      type: PUSH_TYPE,
      appId: APP_ID,
      apiKey: API_TOKEN,
      tags: { plan: "free" },
      debug: __DEV__,
    });

    NotifySphere.onNotification((notification, type) => {
      // type: "received" | "press" | "opened" | "initial"
      if (type === "press") {
        // navigate to the screen this notification is about
      }
    });

    return () => NotifySphere.destroy();
  }, []);

  // ...render your app
}
6. Tag users for segmentation
Tags let you target campaigns at specific groups — users in one city, users on a plan, users who haven't ordered in 30 days. Update them without re-registering the device:
await NotifySphere.updateTags({
  applicationUserId: 123,
  type: PUSH_TYPE,
  tags: { city: "Mumbai", lastOrderAt: new Date().toISOString() },
});
7. Send a test notification
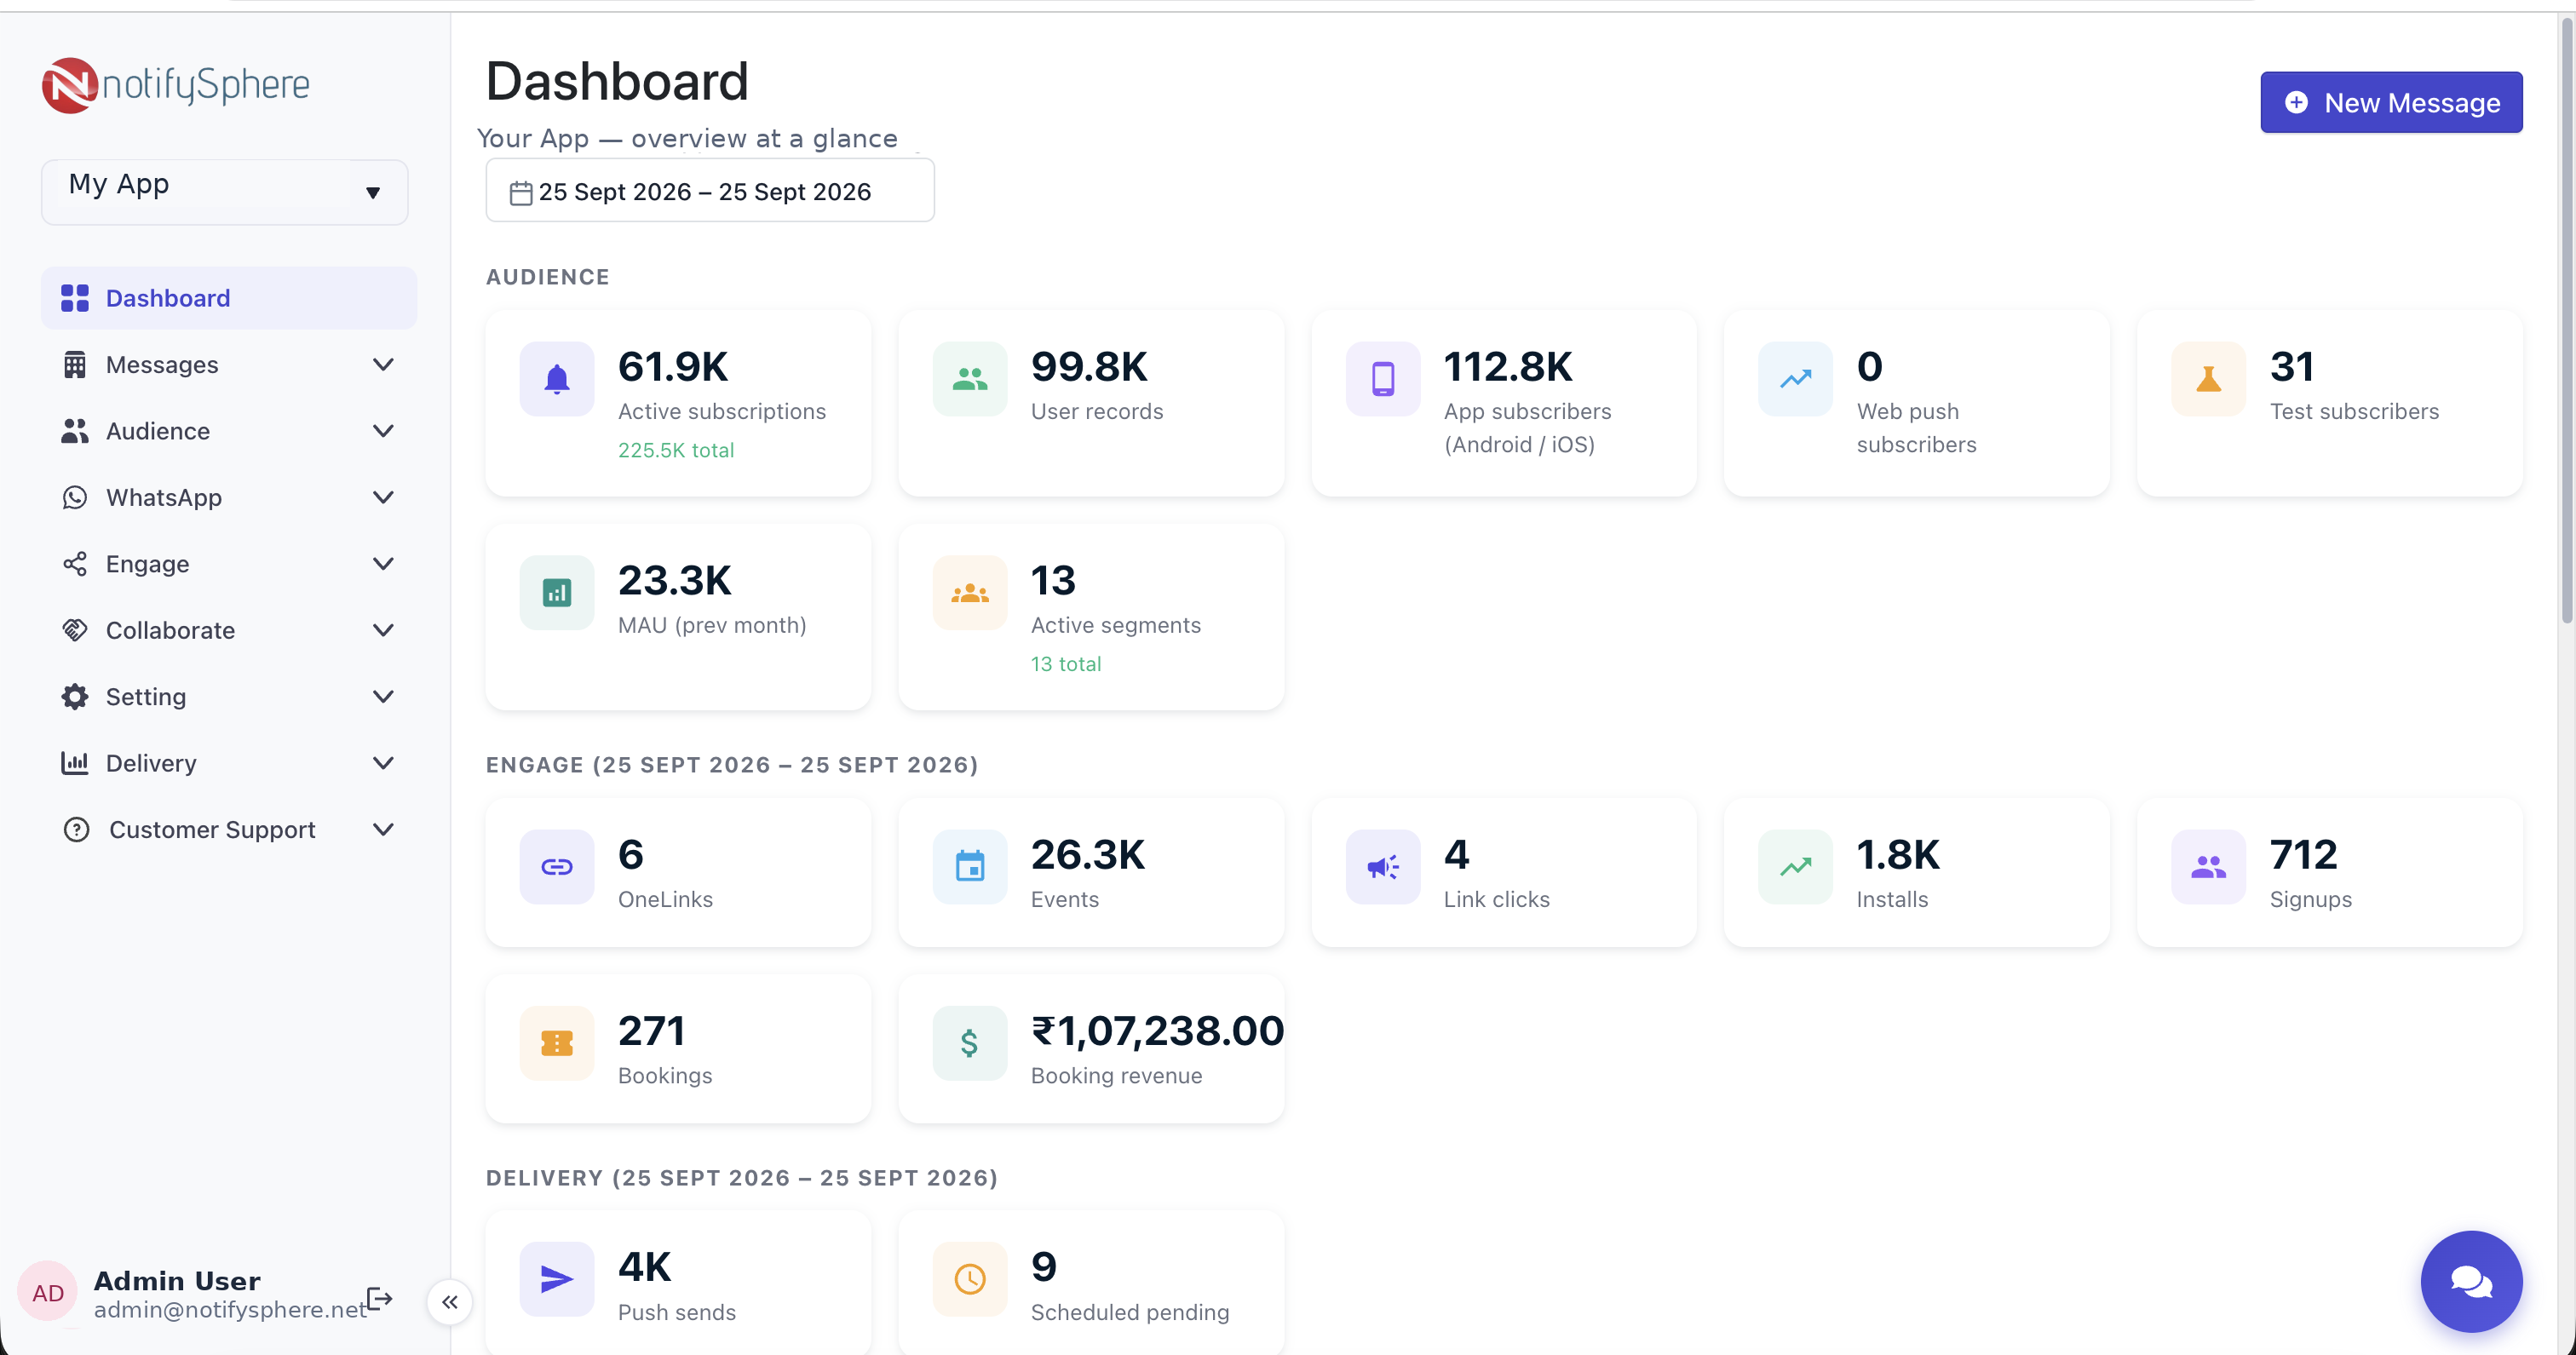
Run the app on a physical device, accept the notification permission, then send a test push from the dashboard. Check three states: app open (foreground), app in the background, and app fully closed. If the closed-app case fails, the background handler almost always isn't registered early enough.
Common problems
- Nothing arrives on iOS: you're on the Simulator, or the Push Notifications capability is missing.
- Nothing arrives on Android 13+: the user never granted the notification permission.
- Arrives in foreground only: the background handler is registered too late.
- Android shows nothing, no error: the small notification icon is missing.
The React Native SDK reference covers every method and option. Building in Flutter? See the Flutter push notifications guide.